Integration with WHMCS
WHMCS is a billing system that allows a provider to sell different types of services. With WHMCS, you can provide virtual servers to your customers automatically. The billing system can perform the following main features:
- register clients and keep track of their funds;
- create tariff plans;
- accept payments from customers;
- manage services automatically: activate, suspend, renew.
The integration is set up in WHMCS. This article goes you through the steps you need to perform.
The integration module requires WHMCS version 8.
The integration module was tested with WHMCS 8.8.0.
Install the module
To install the integration module with VMmanager, in the WHMCS directory download the archive and extract the integration module files:
cd /var/www/html/whmcs/
curl -O https://download.ispsystem.com/extras/whmcs/7/vmmanager6.tar.gz
tar -xzvf vmmanager6.tar.gzNext, log in to the WHMCS web interface and activate the module:
- WHMCS 7 — Setup → Addon Modules → the module ISPsystem global module → Activate;
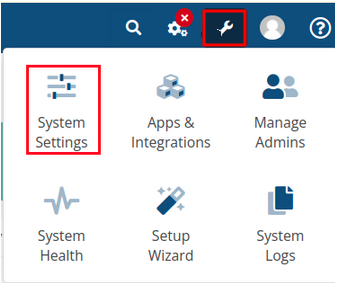
- WHMCS 8 — System settings → Apps & Integrations → the module ISPsystem global module → Activate.
Set up the integration
To connect to VMmanager click on System Setting → Servers → Add New Server.
Servers
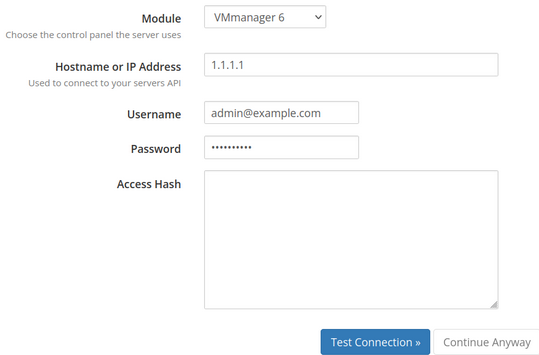
Specify connection settings to VMmanager:
- Module — select the server type "VMmanager 6";
Hostname or IP address — public IP address or domain name of the server with VMmanager;

Do not specify the port if you use a non-standard configuration.
- Username — administrator email. Use the first administrator account created after installing VMmanager. WHMCS will manage the servers in VMmanager using this account;
- Password — administrator password.
If virtual machines will be created in a cluster with two interfaces (primary and secondary network), the Default bridge for new VM option must be enabled for bridges on both interfaces. Read more in the article Network setting on the cluster node.
Configure a tariff plan
To set up a tariff go to System Settings → Product/Services → Product/Services → Create a New Product.
Main settings
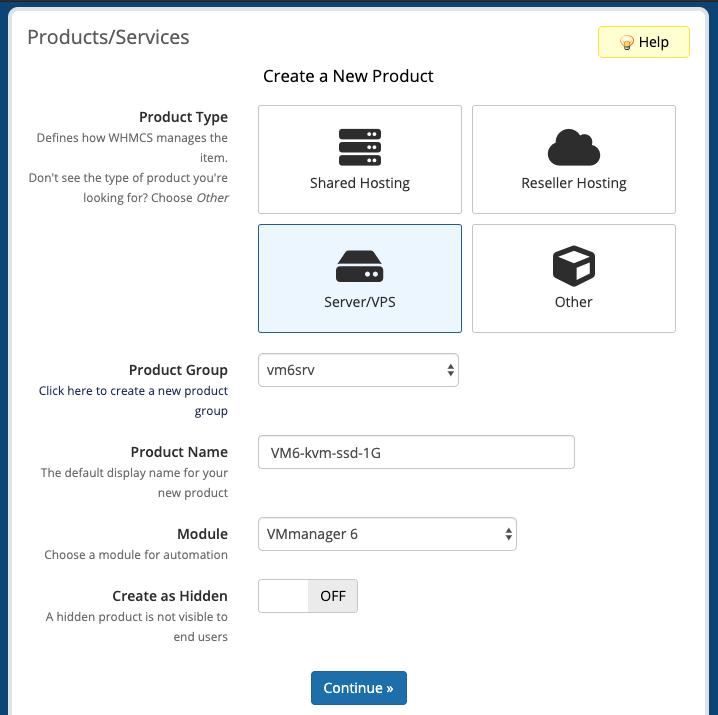
Enter the following parameters:
- Product type — select Server/VPS;
- Product Name — enter any name for the tariff plan;
- Module — select "VMmanager 6".
Click on Continue to create the tariff and proceed to its configuration.
Module Settings
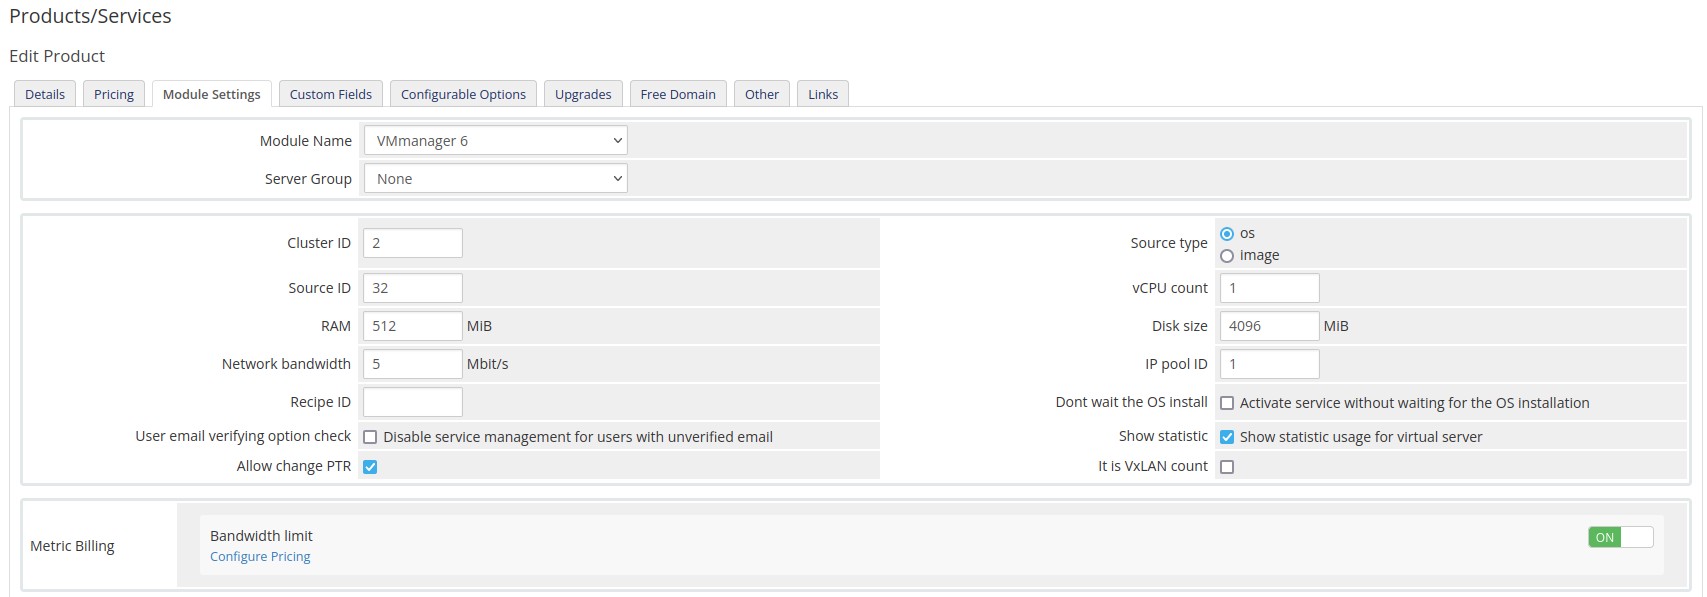
Enter the following parameters:
- Module Name — the integration module name. Select VMmanager 6;
- Server Group — service server group;
- Cluster ID — cluster ID. You can see it on the Clusters tab in VMmanager;
- Source type — source type in VMmanager: an operating system template or pre-defined VM disk image;
- Source ID — source ID:
- Image IDs can be viewed in VMmanager on the Templates → User Images section;
OS template IDs can be viewed in VMmanager on the Templates → Operating systems section;
- vCPU count — CPU number for a VM;
- RAM — amount of RAM for a VM;
- Disk size — disk size in MB;
- Network bandwith — bandwidth limit of the virtual machine network interface in Mbit/s;
- IP pool ID — ID of the IP pool to allocate an IP address for a virtual machine. You can see it in VMmanager in Networks → IP pools;
- Recipe ID — ID of the recipe or script that will be executed after OS installation. You can see it in VMmanager in Scripts;
- Dont wait the OS install — option activates the service until the OS installation is completed;
- User email verifying option check — option disables service management for users with unconfirmed email. With this option, automatic creation of accounts on request from billing will be prohibited;
- Show statistic — option allows you to view statistics on VM resource consumption in the billing interface;
- Allow change PTR — option allows you to change the domain name of a VM;
- It is VxLAN count — option switches the tariff to the virtual networks (VxLAN) order processing mode;
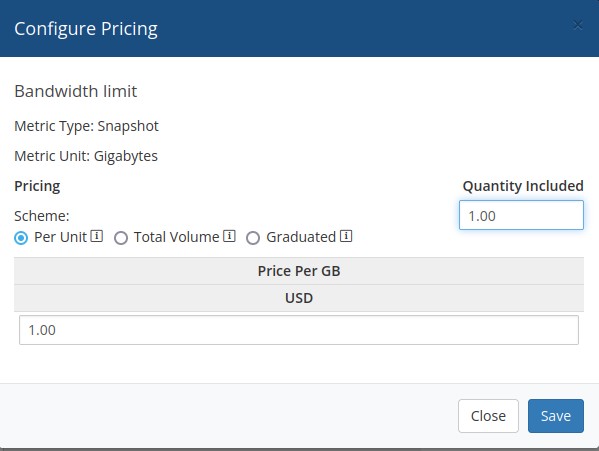
- Metric Billing — option enables counting of traffic consumed by the VM.
Configurable options
Tariff plan options in WHMCS are extra resources available to customer for a separate fee. These resources are billed separate from the main service. Customer defines the number of additional resources independently in the service order form.
Configurable tariff options are consolidated in groups. Each group of options can be activated for several products. We recommend to use a separate group of options for each connection to platform.
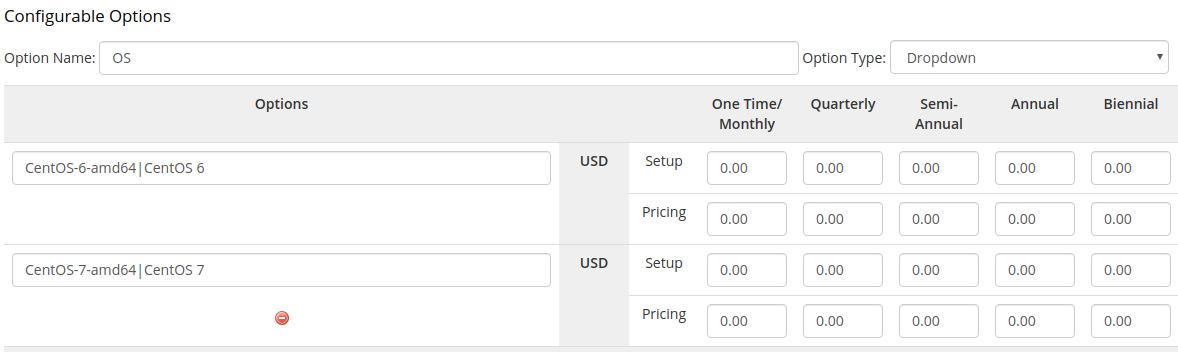
To manage option groups, go to System Settings → Product/Services → Product/Services → Configurable Options. You can add the following options to the virtual server plan:
- cluster —cluster name. Should be: cluster_id|Cluster name displayed to user. E.g., 1|Cluster 111. Cluster ids are displayed in VMmanager tab Clusters. Option type: Dropdown;
- os — List of OS templates available for installation. Should be: template_id|Template name displayed to user. E.g., 1|CentOS 7. Template ids are displayed in VMmanager tab Templates → Operating systems. Option type: Dropdown;
- recipe — script to run after OS installation. Should be: script_id|Script name displayed to user. E.g., 1|LAMP. To add the "No script" option, specify id with the value 0. For example, 0|None. Script ids are displayed in VMmanager tab Scripts → For virtual machines. Option type: Dropdown;
- cpu_number — minimum and maximum number of CPUs for virtual machines. Option type: Quantity;
- ram_mib — minimum and maximum RAM for virtual machines in MiB. Option type: Quantity;
- hdd_mib — minimum and maximum disk space in MiB. Option type Quantity;
- ipv4_number — minimum and maximum number of IP addresses for virtual machines. Option type: Quantity;
- ipv6_enabled — IPv6 subnet. Should include one option with an arbitrary name. For example, on. Option type: Yes / No;
- ipv6_prefix — prefix allocated for IPv6 subnet. Option type: Dropdown;
- network_bandwidth_mbitps — minimum and maximum bandwidth of virtual machine network interface in Mbps. Option type: Quantity;
- vxlan_count — number of available virtual networks. Option type: Quantily.
Read more about options configuration in official WHMCS documentation.
Configure the tariff options
VxLAN tariff settings
To create a tariff to sell virtual networks (VxLAN):
- On the Module Settings tab, enable the It is VxLAN count option.
- Configure the number of VxLANs available in the tariff: System Settings → Product/Services → Product/Services → Configurable Options → create the vxlan_count option.

Logs
The log file of the integration module is located in WHMCS → Utilities → Logs → Module Log.
If the log file contains errors like "Module Create Failed", check whether the integration module is activated.
Useful tips
Related topics: