Payers
To perform all financial operations, BILLmanager uses a separate entity — the payer. Payer has access to all financial operations in the client area: he can generate invoices, receive certificates and financial notifications. Payer is needed to make payments. You can create several payers for one account in your client area.
Information about the payer contains a postal and email address, phone number, contact person's name and other important information that the provider may need when working with a company, sole proprietor or individual.
Creating a payer
To create a payer:
- Enter Client → Payers → Add .
- Select the payer's Country .
- Select the Payer status . Possible options:
- Individual;
- Company;
- Sole proprietor.
- Press Next .
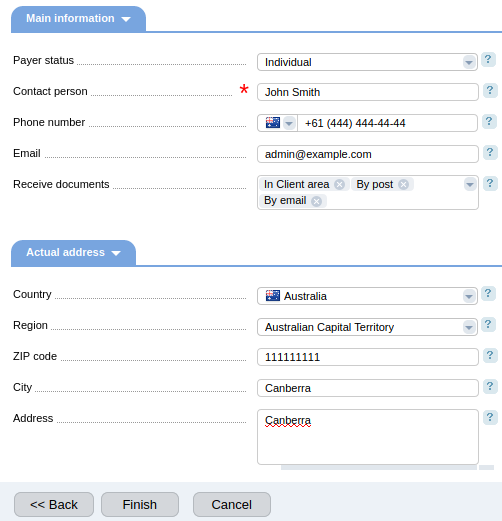
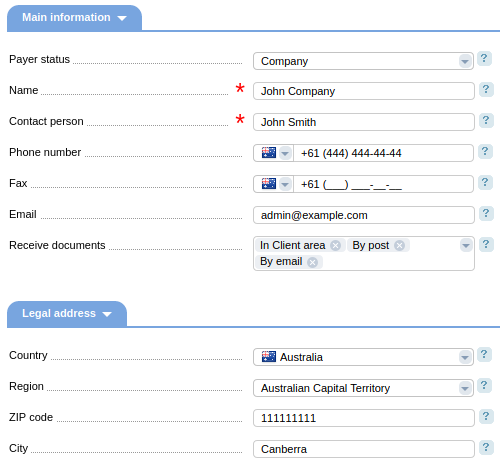
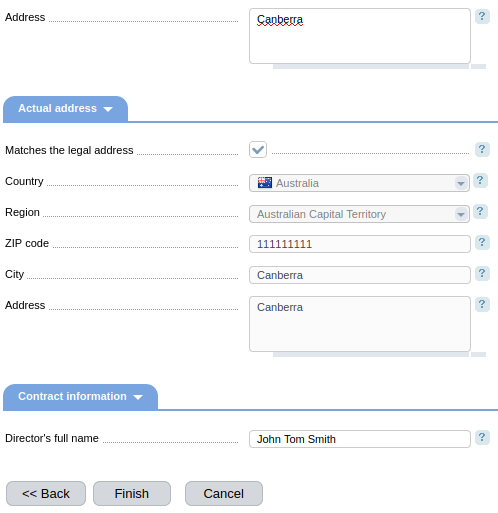
Enter the payer's details. Each type requires certain data, fill out all fields carefully:
In the future, when generating an invoice, all the details will be inserted automatically.
- Press Finish .
You can also add a new payer at the second step of creating a payment for a service.
Managing payers
The list of payers is available in Client → Payers .
Viewing information about payers
- Id — unique identifier of the payer in the system.
- Name — the name of the company, an individual or individual entrepreneur.
Payer status — an individual, company or sole proprietor.
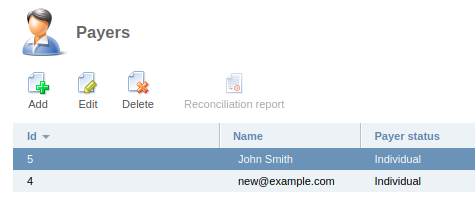
Payers section
Editing the payer's parameters
To edit the data of an existing payer:
- Select the payer from the list and press Edit .
Edit the necessary details. Observe the prompts on the forms. They may contain information regarding correct entry of information. For example, the correct phone number format.
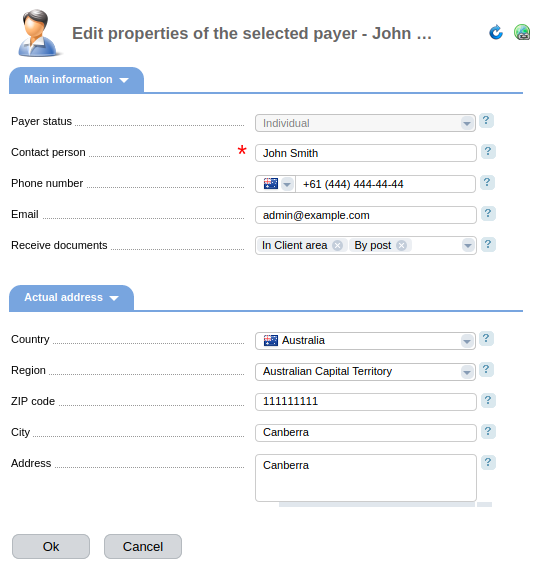
Editing the payer's details
Deleting a payer
To delete a payer:
- Select the payer from the list and press Delete .
- Press Ok to confirm the deletion.
Printing a reconciliation certificate
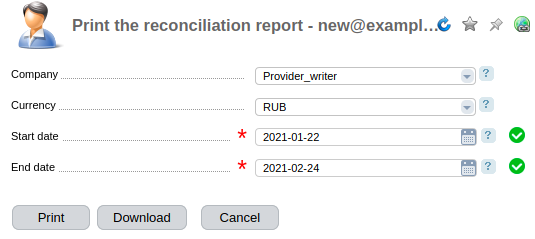
The reconciliation certificate reflects the state of mutual settlements between the parties. For example, between the company and the payer for a certain period. The certificate records the absence of debt, which allows the provider and the client to avoid further claims.
- Select the payer from the list and press the Reconciliation report button.
- Select the Company for which you want to print a reconciliation certificate.
- Select the Currency in which the amount will be indicated in the certificate.
- Select the Start date to generate the certificate.
- Select the End date to generate the certificate.
Press Print.
Printing a reconciliation certificate