IPmanager installation guide
Install the control panel on a dedicated server. Before you start, complete the steps described in the article Hardware requirements.
License activation
License types are described in this article.
A trial license is activated automatically after you have installed IPmanager on the servers. You don't need to order a license.
If you want to use a commercial version you first need to purchase the license. Specify the public IP address of the server where the control panel will be installed.
If the server runs behind the NAT and IP address is assigned to its network interface, the IPmanager license will be activated during the installation. For more information please refer to the article License IP address.
Note
If the server runs behind the NAT, and the IP address is not specified for the license or the license IP address is not assigned to its network interface, you need to activate your license with a key. Learn more in this article.
Installation
Besides IPmanager, the script will also install additional software applications on your server:
- SQLite;
- web server — ihttpd.
The installation process will disable SELinux as it breaks stable operation of the control panel.
Note
Before you start, install wget if needed.
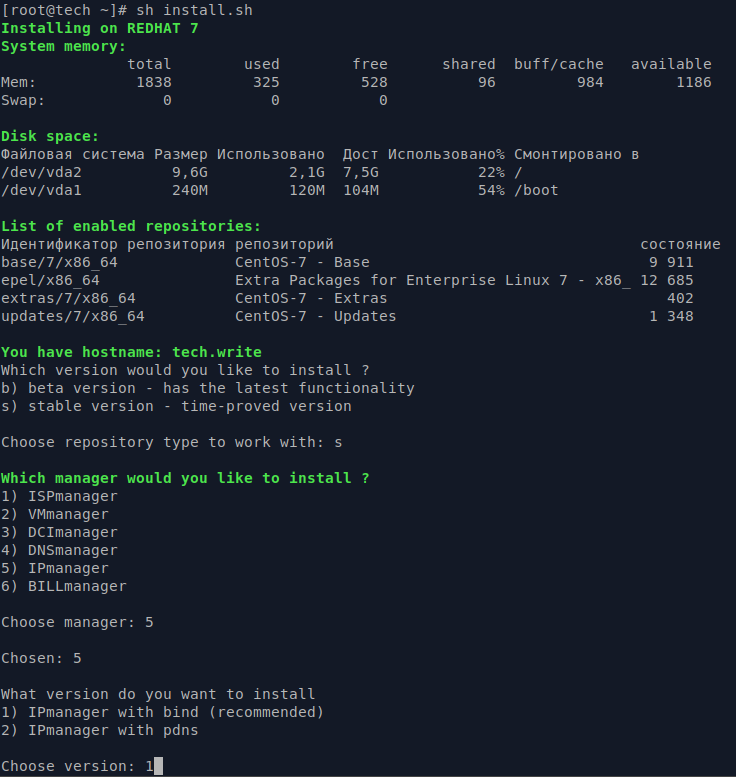
Installation steps:
Connect to the server via SSH with the superuser permissions (root by default).
Download the installation script:
wget https://download.ispsystem.com/install.eu.sh -O install.eu.shBASHRun the command:
for the latest version of the control panel:
sh install.eu.shBASHfor a specific version of the control panel, run install.sh with the --release parameter e.g.:
sh install.eu.sh --release 5.100BASH
Please note!
If you use a lifetime license please pay attention to its updates period. After the updates period is expired, you won't be able to activate the latest version of the control panel. Install the panel with the parameter --release 5.100, where 5.100 is the last available version for the lifetime license.
- Select the release version:
- Stable version — this repository includes stable versions that have been tested as thoroughly as possible.
- Beta version — this repository includes the versions that have most of the major features, but are not yet complete.
- Select "IPmanager".
- Select a domain name server:
- IPmanager with bind for BIND.
- IPmanager with pdns for PowerDNS. We recommend selecting this option if you plan to add many IP addresses to IPmanager.
After the installation is completed you can access IPmanager at the following URL:
URL: https://<server IP address>:1500/ipmgr
Login: root
Password: <root password>