Geolocation
This article describes how to set up the GeoIP module, which allow to identify a location by IP address.
Notifications
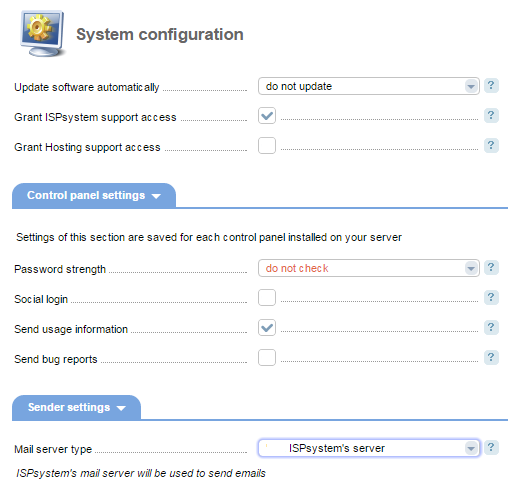
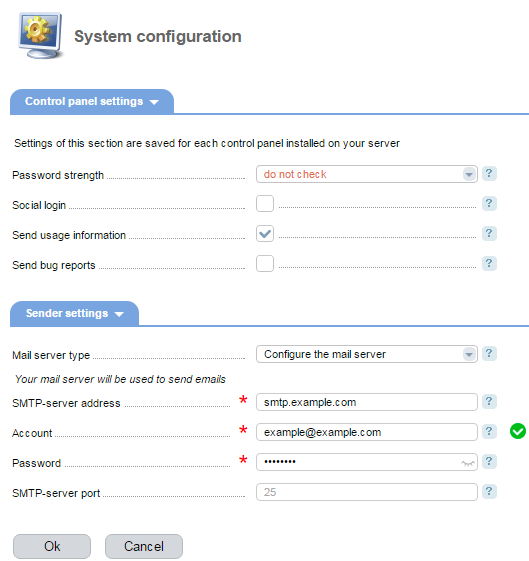
Navigate to System configuration → Control panel settings
By default, notifications are sent from notify@security.ispsystem.com.

You can send them via another mail server. To do so, choose "Configure the mail server" in the Mail server type field.

SMTP-server address — enter the mail server URL from which notifications will be sent.
Account — enter the full email address to send notifications
Password — enter the password of the account
SMTP-server port — enter the SMTP-port on the mail server. The default value is 25
Click OK to save changes into the control panel's configuration file.
User settings
Navigate to User settings
Email — enter the email address to send notifications.
Note:
When you edit this field, the confirmation email will be sent to the new address. Notifications are not sent to non-verified emails.
Enable GeoIp — select the checkbox to enable GeoIP for this user.
Note:
Clearing the GeoIP checkbox will delete the current user location.
- Successful login notification — every time a login attempt is made, the corresponding notification will be sent to the specified email address.
- Password reset notifications — select the check box to send the password restore notification;
- Free disk space notifications — low disk and mailbox size notifications will be sent to the specified email address;
- Notifications from DNSSEC — select the check box to send the notifications from DNSSEC.
How it works
The MaxMind database located in /usr/share/GeoIP/ is used. The bases are set up when selecting "Enable GeoIp" for the first time.
Clicking OK in the User settings form will save the current location of a user account identified by its IP address.
If that user logins to the control panel from a different IP address, his account will get blocked. An instruction on how to unblock his account will be emailed to the specified email address.
After the user account is unblocked, his location will be changed.
Note:
If the databases are missing during the authentication process, the user account will remain blocked.
My account is blocked and I didn't receive the confirmation email
Complete the following steps to unblock the account:
Connect to your server via SSH.
Remove the "GeoIpRegion reg" line from the user config file /usr/local/mgr5/var/userconf/mgrName.user.
CommentsmgrName — a short name of a control panel
- ispmgr — ISPmanager;
- billmgr — BILLmanager;
- vmmgr — VMmanager KVM or Cloud;
- vemgr — VMmanager OVZ;
- dcimgr — DCImanager;
- ipmgr — IPmanager;
- dnsmgr — DNSmanager.
user — name or user ID in the control panel;
reg — the region of the account, determined by the IP address after enabling GeoIp.
Restart the control panel:/usr/local/mgr5/sbin/mgrctl -m mgrName exitCODE