Initial Configuration Wizard
After the billing system has been installed, you need to complete its preliminary setup. Start the Configuration Wizard that consists of three steps: Select country, Provider settings and Company settings.
The company and provider settings specified through the initial configuration wizard will be used for the preliminary configuration of the billing system. Please note that the preliminary configuration is an automatic process configuring some billing system sections (such as localization, documents templates, etc.)
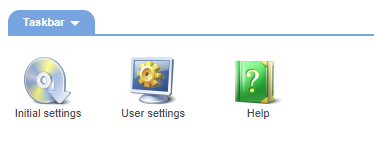
Click on the button Initial settings on Dashboard to start the initial configuration wizard:
Step 1. Select a country
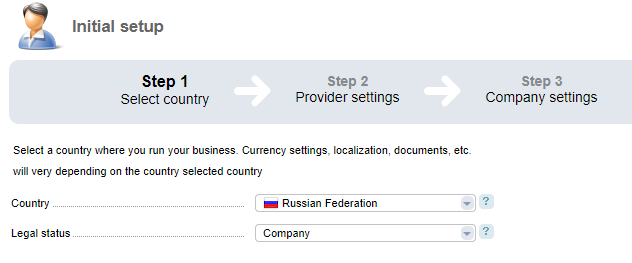
Country — select your country. The system will configure currencies, localization, documents, etc. automatically depending on the country you have selected. In the future, you will be able to change it; however, you will have to re-edit all settings defined by the wizard again.
Legal status — the system will download a specific set of documents and define necessary legal data fields depending on the legal address specified. After finishing the initial setup wizard, you will not be able to change the legal status through the panel interface. If you have selected an incorrect value, you will have to create a new company with an appropriate legal status.
Step 2. Provider settings
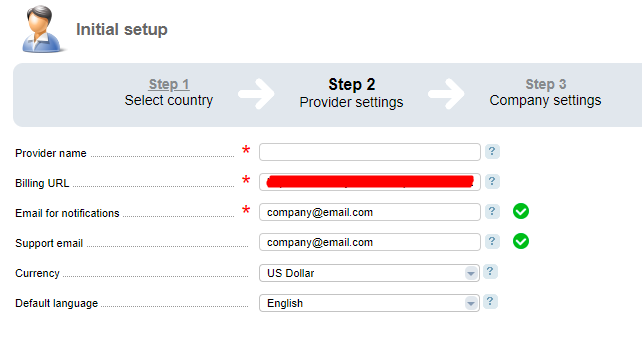
- Provider name — enter the name of the provider who will provide services to customers. It can be changed at any time on the provider's configuration page Provider → Providers.
- Billing URL — public URL-address of the billing system. It can be used to place the Shop window (if it is included) and for connection between Shop window and the billing system. By following this URL-address, your client will be able to access the authorization page. Also, you can use this address in your notifications. Read more about how to configure the URL address correctly.
- Email for notifications — full email address. Your clients will receive notifications from this email address. You shall also configure an external mail server and outgoing messages gateway so that emails would be prepared properly for sending.
- Support email — from this email address, users will receive user activation and payer notifications or when restoring the password. You can leave this field empty; in this case, all notifications will be sent from your Email for notifications.
- Currency — the monetary unit used in your project. If you create only one provider, all calculations will occur only in this currency. It can be changed, however, new personal accounts will be added if adding a new currency for all users. Clients registered in your control panel before the currency has been changed will still have their account with the original currency. If the system has active payments or expenses, then the currency change function will be blocked. We do not recommend to change the currency after the initial setup wizard was configured.
- Default language — according to the selected value, the system will assign the default localization. It will change the default localization and the default document templates (if the required language is available in the panel).
Step 3. Company settings
Next, specify the information about the company which services will be provided.
The field Name is the only mandatory field. However, we recommend filling all other fields too before you start to offer any services. It would help to avoid issues in the future e.g. with incorrect information in documents.
Company information is divided into 6 sections:
- Main
- Legal address
- Actual address
- Contract information
- Accounting settings
- Print options
You can change the company parameters in Provider → Companies.
Main
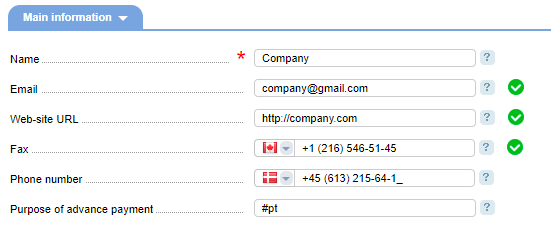
General information:
Name — full company name. It will be used in documents and has legal force.
Email — company email address. Your client can write a letter to your organization by using this email address. It will appear in some documents.
Website URL — company URL-address. It can sed in print templates of some documents.
Fax — fax number. While selecting a country, the validator will substitute the country code for the country (+7 for Russian Federation).
Phone number — contact number.
Purpose of advance payment — the entered value will indicate the advance payment in the general list of payments.
For example, if you enter the value "Add funds to client area" in this field, then when making an advance payment in the payment invoice (automatically generated document) it will be listed as "Add funds to client area".
Legal address
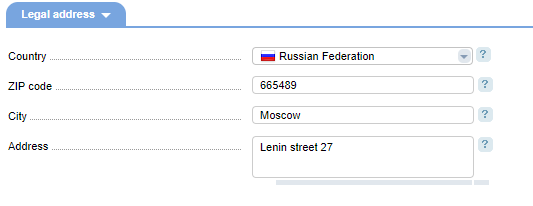
Country — a country where your company is registered.
ZIP code — legal address index.
City — the city where your company is registered.
Address —registration address. It includes street, house and office number (if available).
Actual address
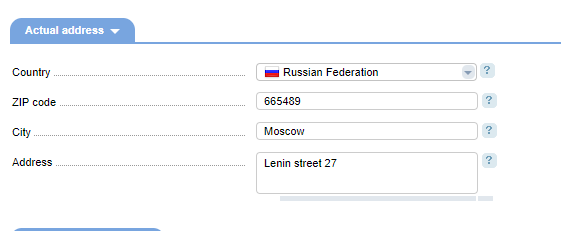
Country — a country where your company is located.
ZIP code — actual address index.
City — the city where your company is located.
Address — location address. It includes street, house and office number (if available) .
Contract information

This information is used for document templates and affects only the content of the document. You can change the entered data at any time.
Foundation date — legal entity registration date (year, month, day) according to constituent documents. Usually, the establishment (registration) date is clarified in the certificate of state registration.
Director's full name — name and surname of the person performing the functions of the executive person (CEO, director) and signing the contract.
Job title — job title of an executive person (CEO or director).
Acts under — a legal document.
Accounting settings
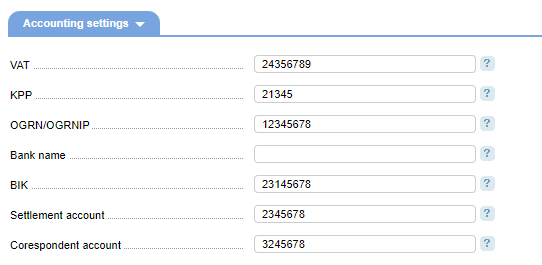
Accounting settings. The following details will be clarified in the documents:
Tax identification code
KPP
OGRN/OGRNIP
Bank name
BIK
Settlement account
Correspondent account
Print options
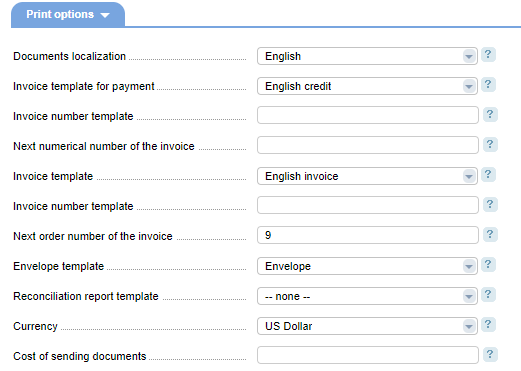
Templates configuration used for printing documents:
Documents localization — language used for documents. You can choose any localization which was added and configured previously.
— template of the invoice that can be printed. It can be modified in the payment method edit form.
— in the invoice template you can use the following macros: {id} - payment id and {num} - the number of the payment generated with this payment method. If these macros are not present, the {num} macros will be added to the invoice template number.
For example, the field has the following value "Payment id:{id} Number:{num}". Current payment ID is 15, number is 247 - macros {id} will return "15" value, and {num} - "247". Following such conditions, numbers of the output document will have the following meaning: "Payment id: 15 Number: 247"
Next numerical number of the invoice — next numerical order of the invoice that was created with this payment method. The next numbers will always be +1.
For example, the field has the value "100". The first generated invoice will have number 100, the second one - 101 and etc.
— select an invoice print template.
Invoice number template — invoice number template. You can use the macros {id} - invoice id, and {num} - invoice numerical order. If both macros are not present, the {num} macro will be used.
For example, the field has the following value "Invoice id:{id} Number:{num}". Current payment ID is 35, number is 577 — macros {id} will return "35" value, and {num} — "577". Following such conditions, numbers of the output document will have the following meaning: "Invoice id: 35 Number: 577"
Next order number of the invoice — enter the next order number of the invoice. The next numbers will always be +1.
For example, the field has the value "110". The first generated invoice will have number 110, the second one - 111 and etc.
— a localized print template for the envelope that will be used to send the letters.
Reconciliation report template — localized template of the envelope. If a template is not assigned, then users would not be able to create reconciliations reports.
Currency — select currency of the price of sending documents.
Cost of sending documents — the cost of sending documents by post. The billing system will add this expense automatically.
For example, a user would like to have a paper reconciliation report. In this case, his/her provider sends the original document to the client and writes off funds from the account balance.